Tips for successful winter photos | Part 2
Social Wall
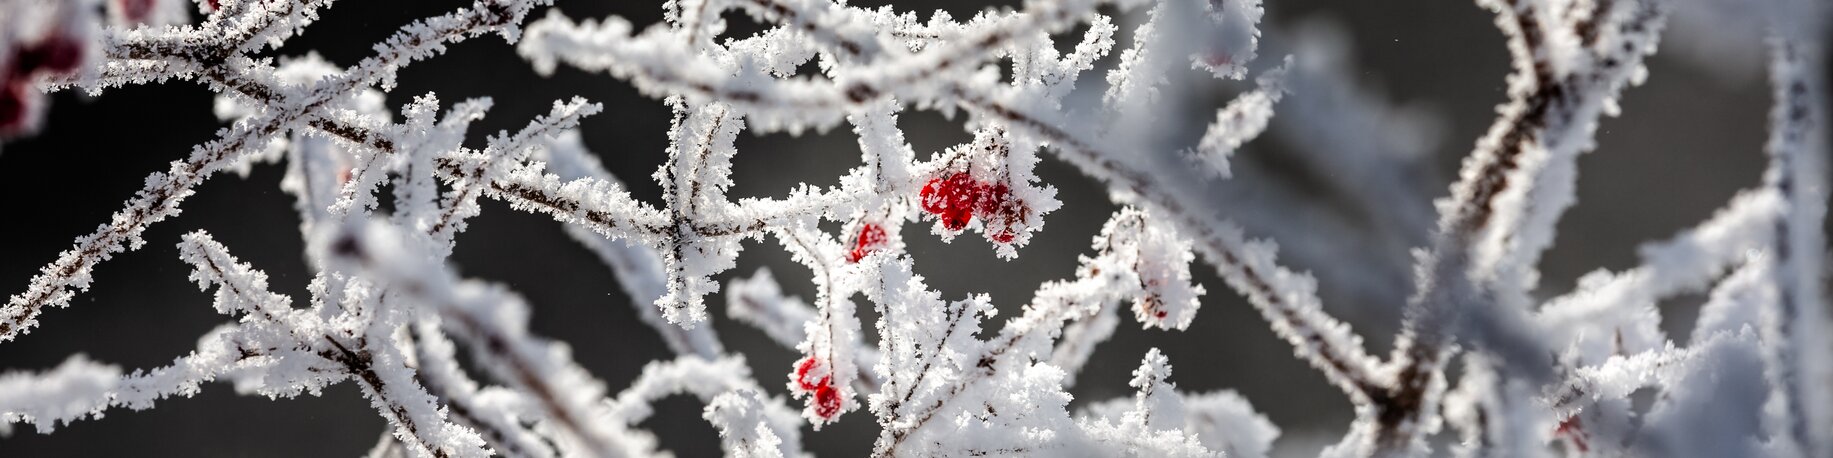
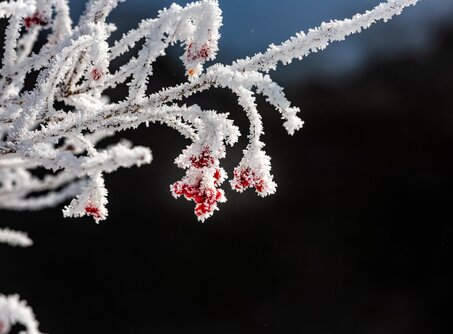
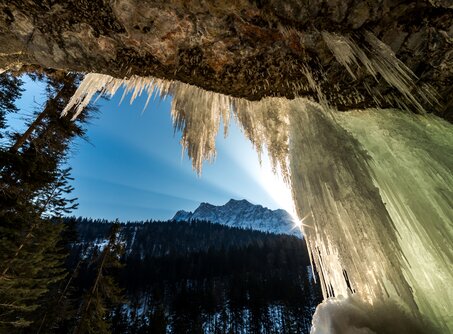
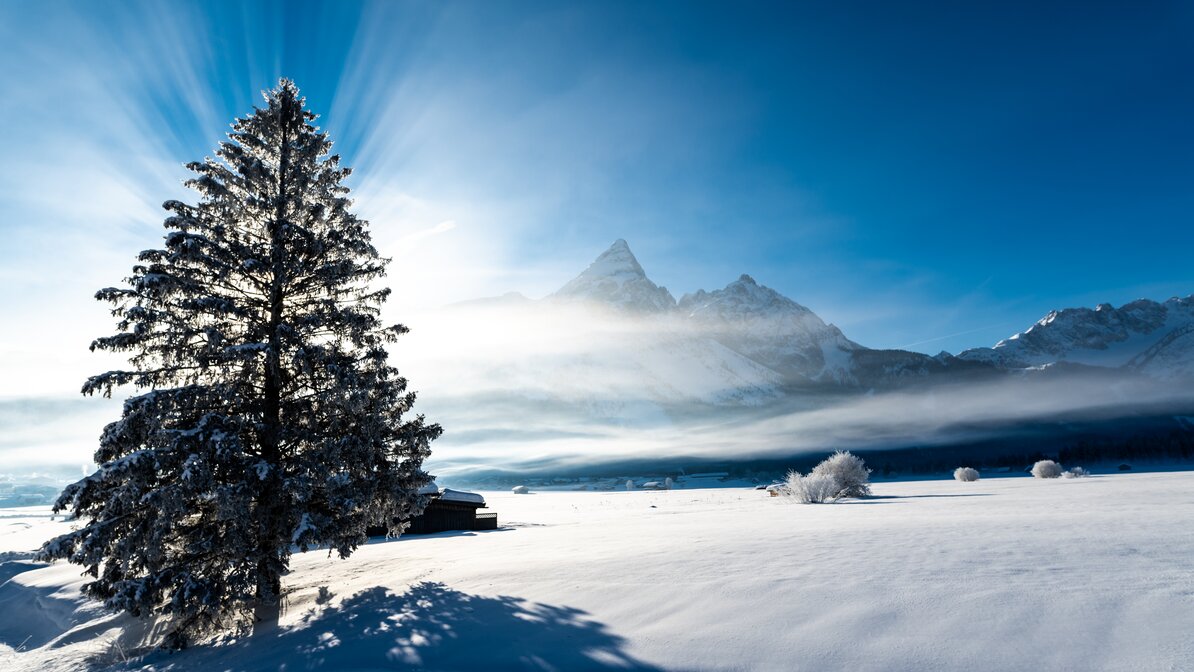
In part one, the experts from FroZen Lights talked about the technical settings needed to take the perfect picture. But because the white winter idyll is by definition often lacking in colour, the choice and framing of your subject are also essential if your snow pictures are to turn out well. Sjef Handels recommends looking for light contrasts, colourful details, or interesting combinations of background and foreground. If most of the picture is taken up by snow, a detail that puts the environment in perspective can really enliven your picture. Even just footprints in the snow can help to break up the mass of white. A ski hut at the side, groups of trees, or the famous icicles can give a picture meaning and depth. Zooms and close-ups of small details, such as frost, ice, or a leaf in the snow also add interest to your composition.

Social Wall
‘You can even face the light if you want,’ says Handels, adding that you shouldn’t take a picture looking directly into the sun. ‘Instead, find a position behind a tree so that it just glistens through the branches.’ These kinds of lighting effects produce almost dramatic but definitely impressive photos in the snow. He’s even more enthusiastic about shots taken during full moon – but then you need a tripod for the longer exposure time. ‘It makes everything clearly visible; even the mountainsides can be seen in a slightly bluish light.’ For a lover of nature, snow flurries or patches of mist drifting across the landscape can also be rewarding images.
Social Wall
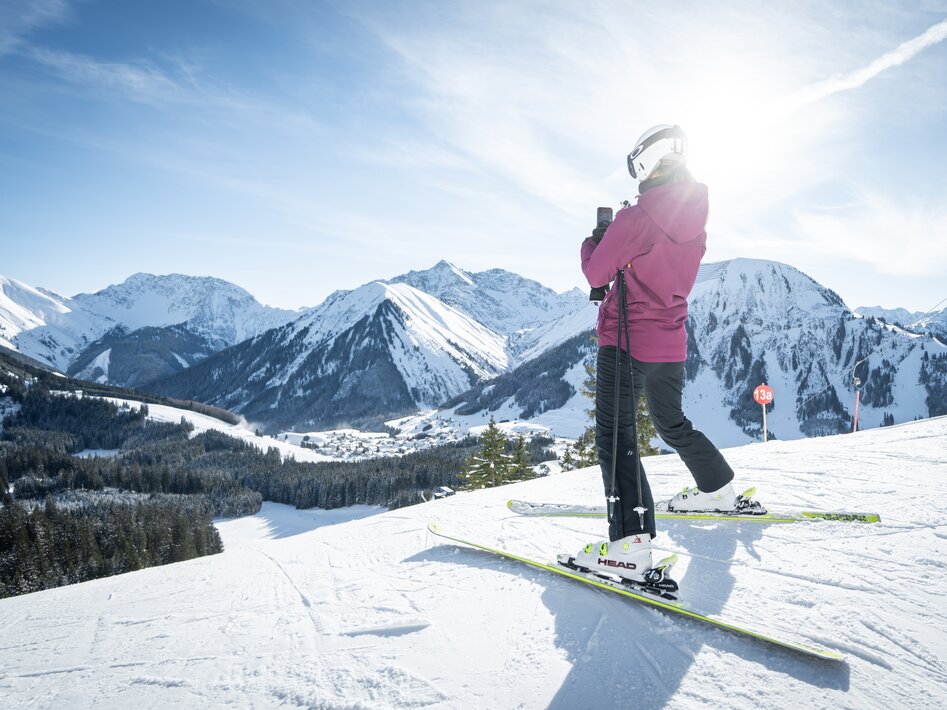
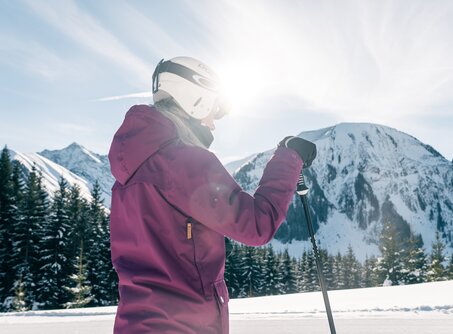
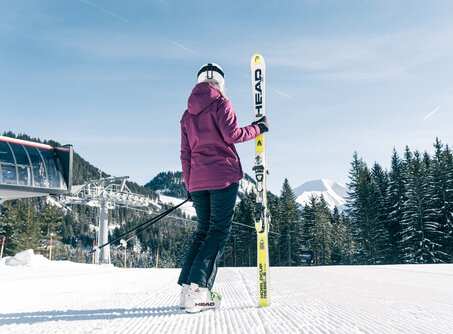
For photos in the snow, and especially portraits, Handels also recommends plenty of brightness. The sun, though, should be neither directly in front of or behind you, as it will make the person’s face too dark, or make them blink. If the light is from the side, check the viewfinder to see if there are shadows on the face. If it’s snowing, take care that flakes don’t settle on the person’s nose or blow in front of their eyes. ‘Afterwards, they may look like flaws in the picture.’ In general, a person looks better if they’re photographed from slightly below. If you’re doing pictures of children, says Handels, get down on one knee and take your shot at eye level. ‘If you shoot from above, it only makes kids look smaller.’
Categories
Share on ...
You may also be interested in ...
Geteilte Urlaubsfreude ist doppelte Urlaubsfreude! Unsere Social Wall ist ideal zum Austausch von unvergesslichen Erlebnissen und für ganz persönliche Einblicke in die Tiroler Zugspitz Arena.


